🏷️ XCSkiGuru’s guide to ski cleaning
- 1) Protection & workspace: Mask glide zones and bindings with paper/tape. Work in a well-ventilated area; use gloves.
- 2) Kick-zone cleaning (hard/klister): Scrape thick residues only in the kick zone. Use remover if needed; wipe with a fiber cloth.
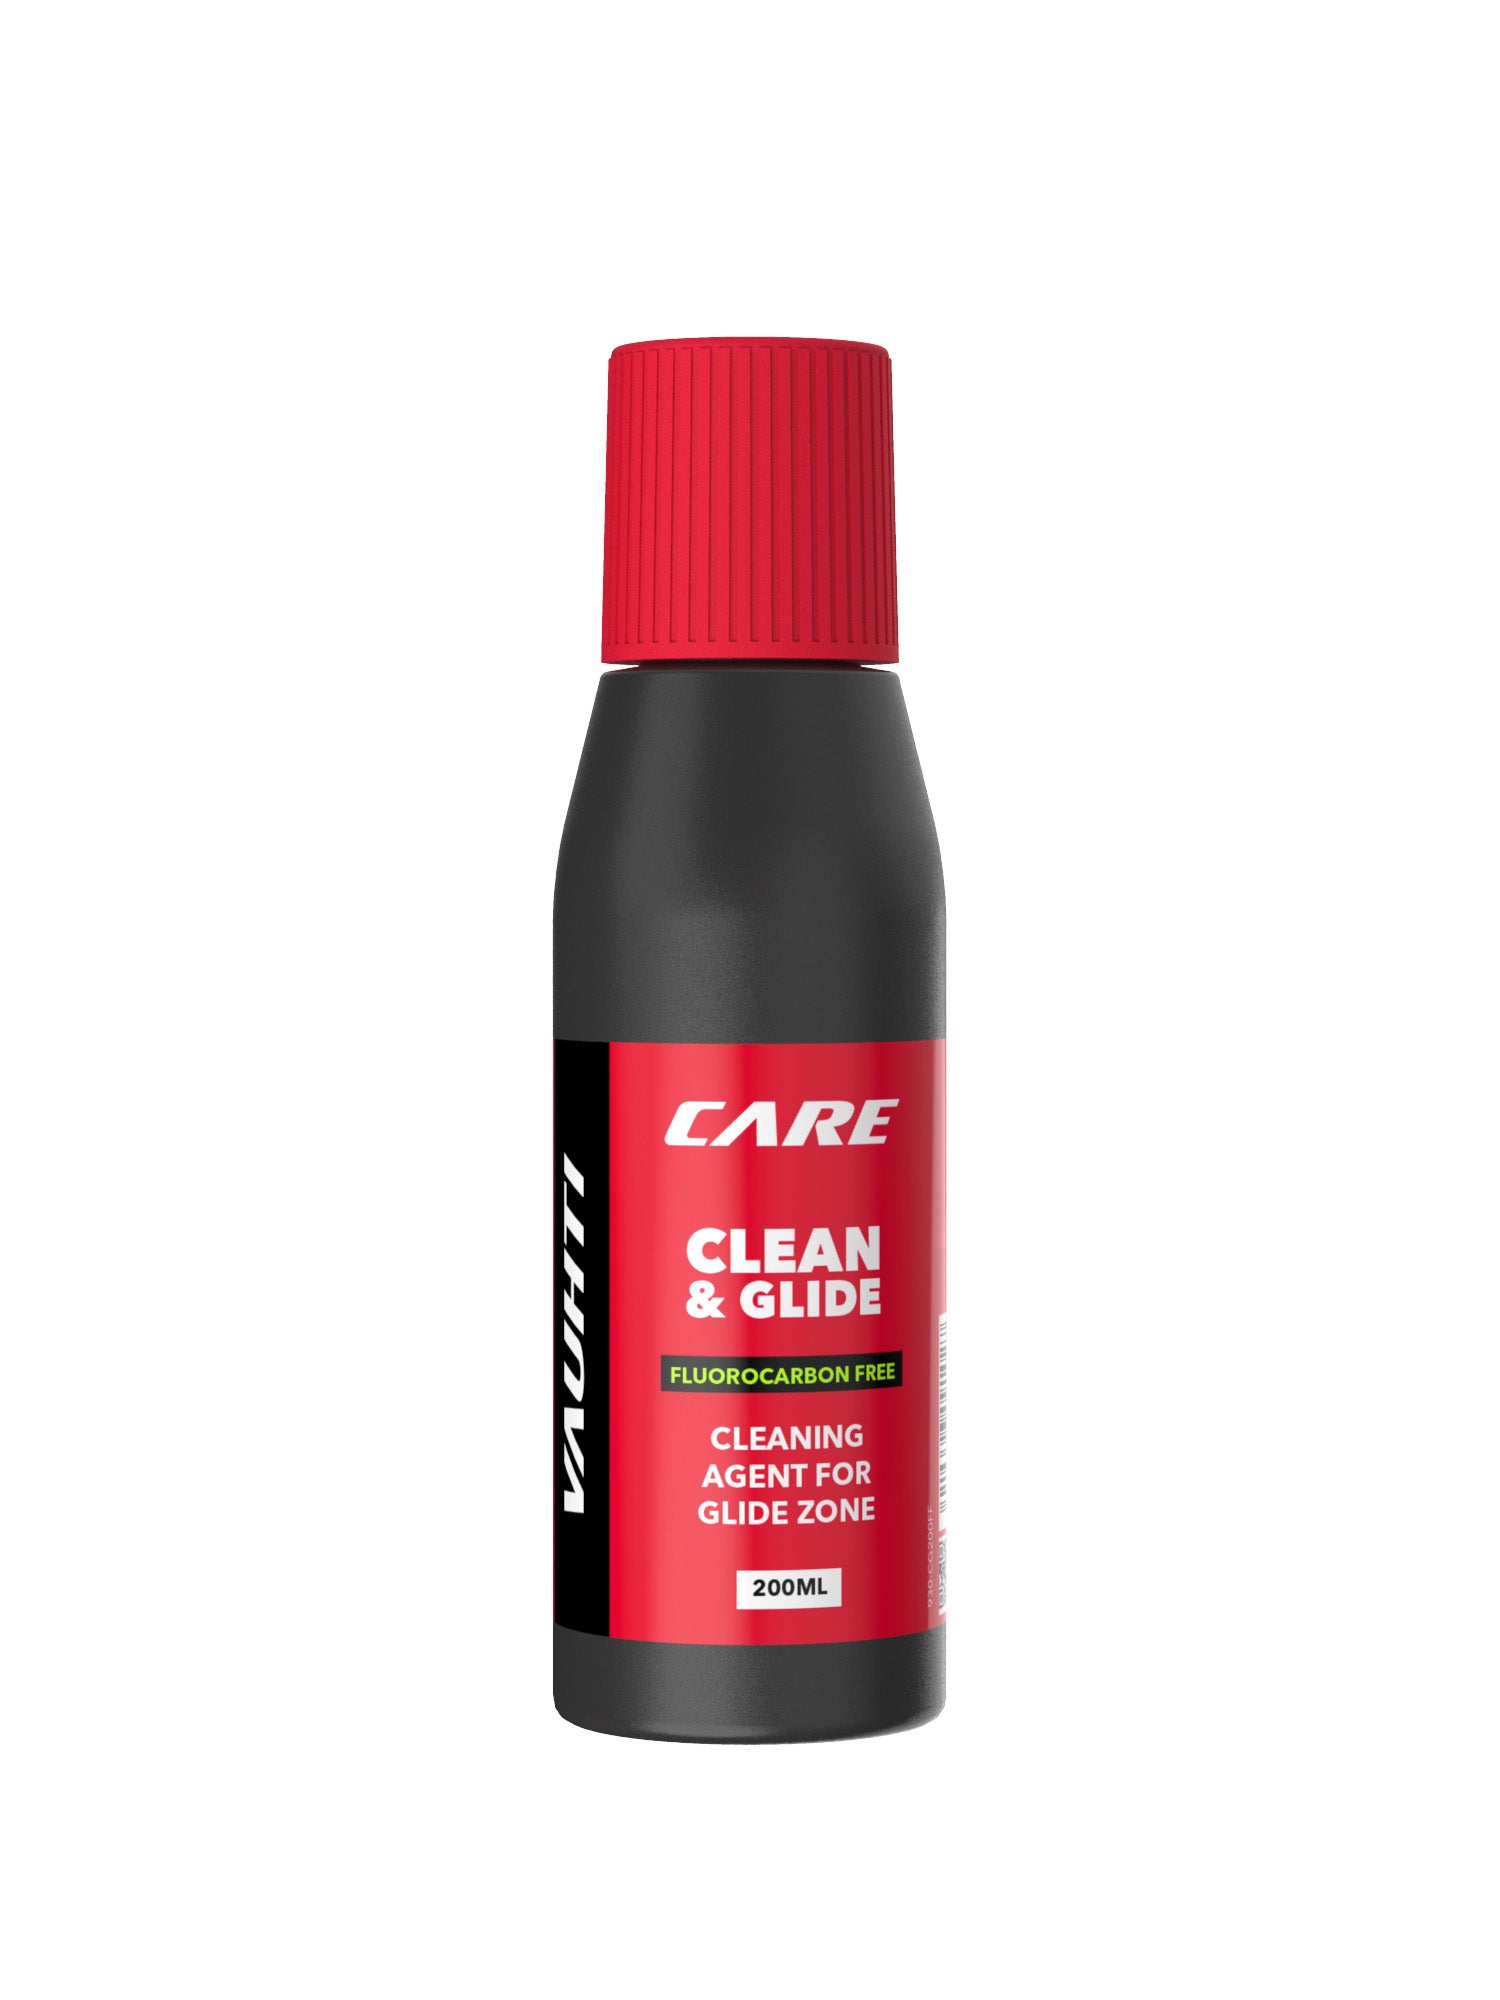
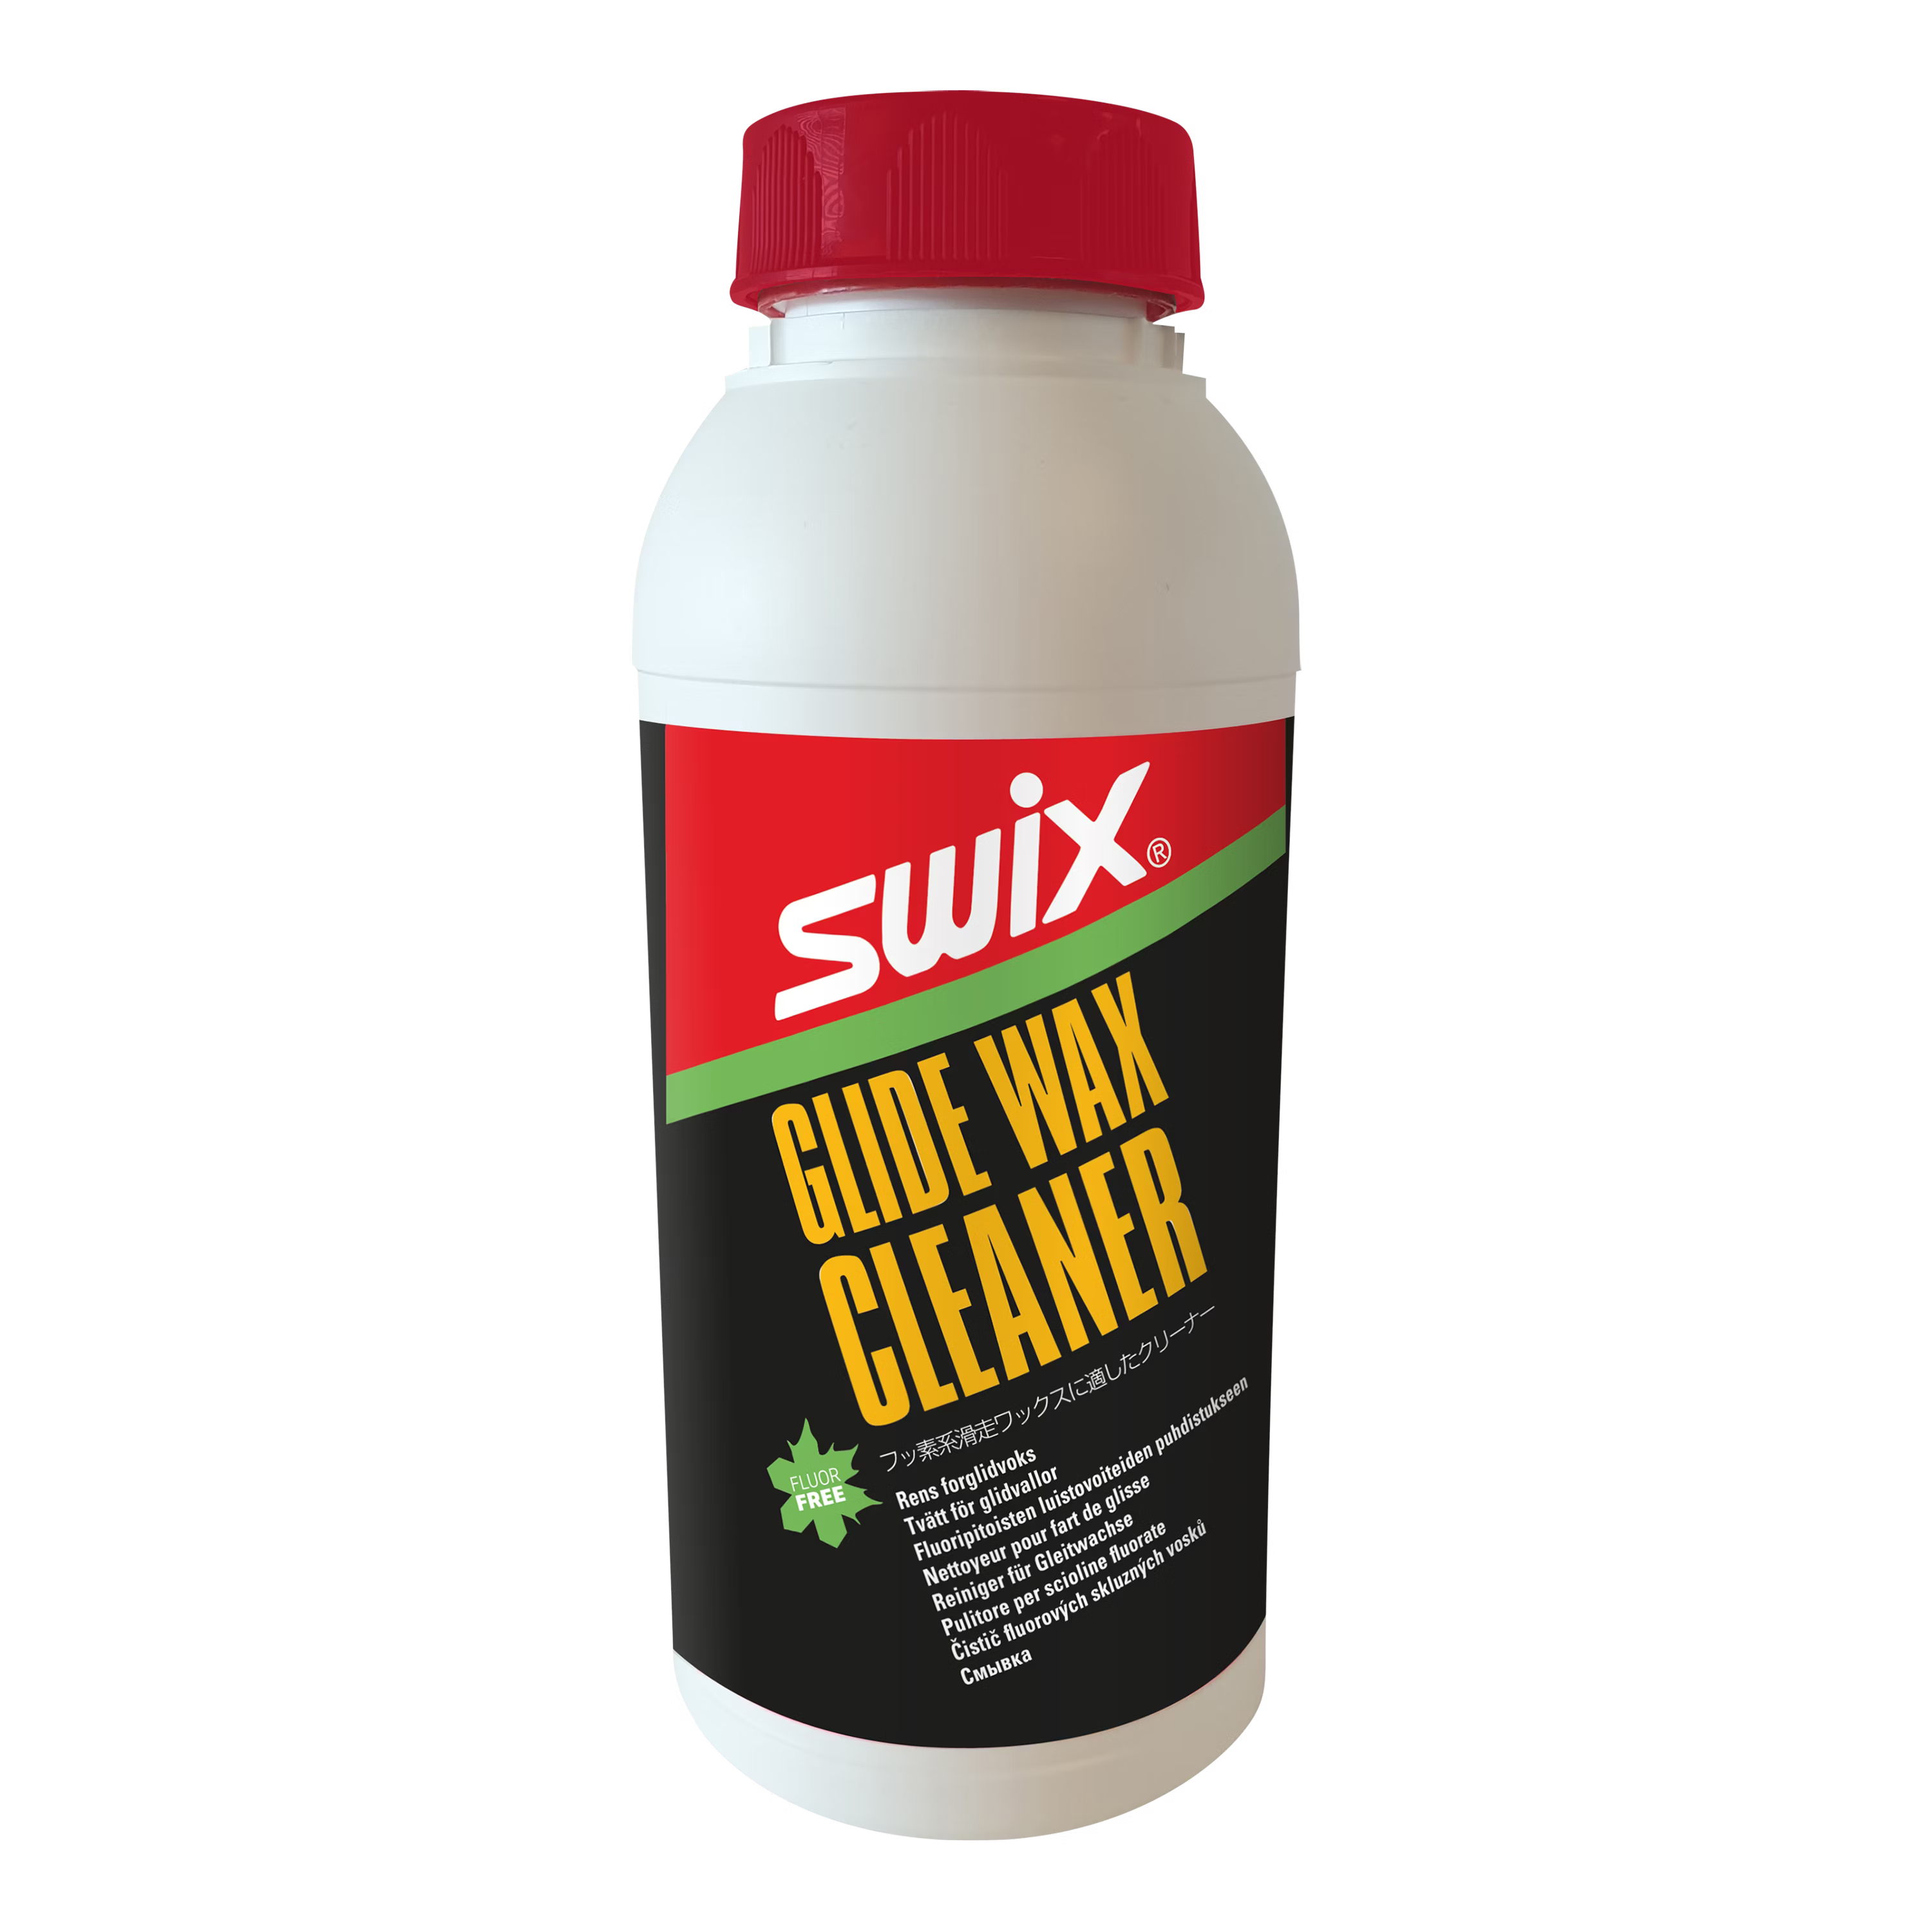
- 3) Glide-zone cleaning: Apply a thin layer of glide cleaner. Let it work per instructions; wipe lengthwise. Avoid over-wetting.
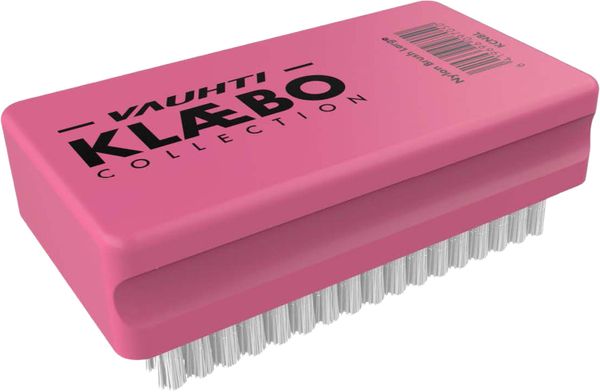
- 4) Brushing: Once dry: brass or fine steel → nylon. Removes dirt and opens the structure.
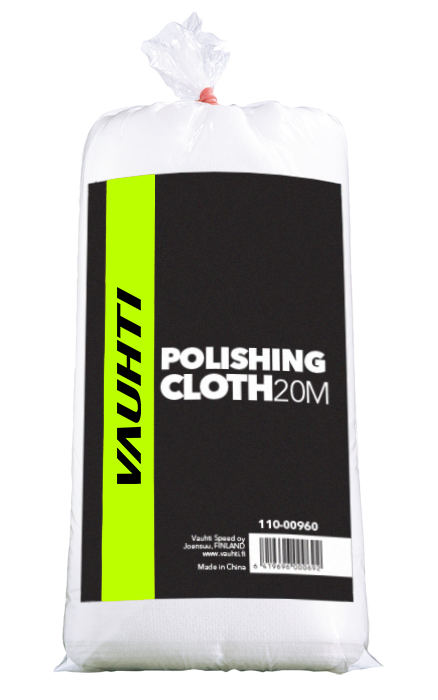
- 5) Quick degrease: Fiber cloth + a little cleaner → light nylon brush.
- 6) Deep clean (if needed): Hot-wax with a cleaning wax (low temp), scrape warm, brush. Repeat until the cloth comes off clean.
- 7) Dry & finish: Let dry. Before the next waxing: light nylon brush or fiber cloth.
When to clean?
- Before re-waxing: Especially for race/condition changes.
- Dirty or grey base: Clean and brush.
- Klister/grip-wax residues: Always clean before switching products.
Tools & agents
- Removers: kick/klister remover, glide-surface cleaner.
- Brushes: brass or fine steel (light), nylon to finish.
- Fiber cloths, plastic scraper, gloves, paper/tape.
Safety
- Ventilation, gloves; avoid skin contact and splashes on bindings.
- Use only the manufacturer-recommended amount of cleaner.
- Dispose of dirty cloths per local guidance.
Quick checklist: Mask → remove residues → cleaner + wipe → dry → brush → (deep clean if needed) → ready to wax.
Pro tip: Best glide comes from a clean base, the right hot wax, and thorough brushing. Maintenance is easier when you always clean before the next, condition-specific treatment.